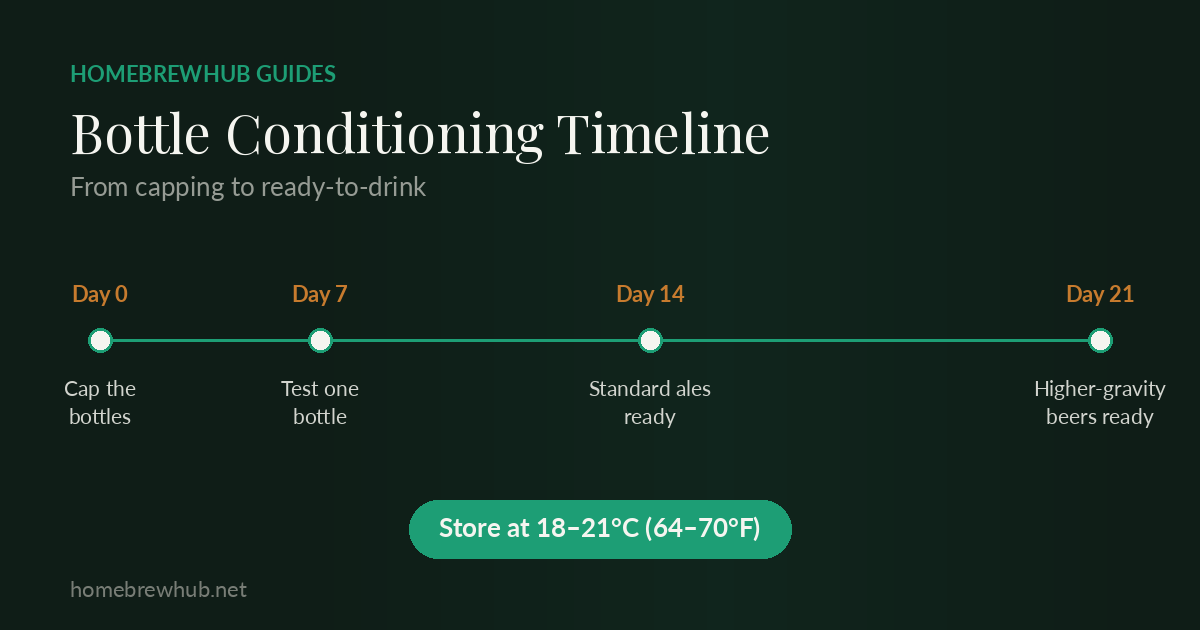
Bottle carbonation works by filling sanitized bottles with beer and priming sugar, capping them, and storing them at 18-21°C (64-70°F) for 1-2 weeks (up to 3 weeks for higher-gravity beers) while the remaining yeast eats the sugar and produces CO2. Leave 2.5-3cm of headspace under the cap, and test one bottle around the one-week mark to check progress before assuming the batch is ready or under-carbonated.
If you're looking for the sugar amount itself rather than the process, the priming sugar guide covers that calculation. This guide assumes you already have your sugar dose worked out — it covers the bottling process itself, from filling through to knowing when your beer is actually ready.
Filling and capping, step by step
- Raise your fermenter above your empty, sanitized bottles — bottling relies on gravity through a siphon, so height difference matters.
- Siphon the beer gently off the yeast sediment into a bottling bucket pre-mixed with your priming sugar solution (or straight into bottles if your bucket already has a spigot and the sugar was added there).
- Attach a bottling wand to the end of the tubing and fill each bottle from the bottom up — this keeps foam and oxygen pickup to a minimum.
- Leave about 2.5–3 cm (1–1.2 in) of headspace under the cap — enough room for the CO₂ that's about to build up, without leaving so much that you waste carbonation.
- Cap each bottle immediately after filling, pressing evenly on both sides of the capper so the crimp seats flat.
- Spot-check a couple of caps by trying to twist them — a properly sealed cap won't budge or hiss.
A bottle with a chipped or deformed neck rim will never seal properly under a capper, even if the cap looks like it's sitting fine. Under carbonation pressure, that bottle is the one that leaks — or in rare cases, fails. Inspect bottle necks before you fill them, not after.
How long does bottle conditioning take, and at what temperature?
Store capped bottles somewhere dark, at room temperature — 18–21°C (64–70°F). The yeast still in suspension needs that warmth to finish eating the priming sugar and produce CO₂; a cold room will stall the process for weeks.
Rough timeline:
- Standard-strength ales: 1–2 weeks
- Higher-gravity beers, or batches finished with tired yeast: up to 3 weeks
- If carbonation still feels weak after 2 weeks, don't panic — give it more time before assuming something went wrong
Once carbonation has built up, an optional cold conditioning step helps: a couple of days at 2–4°C (36–39°F) before serving lets CO₂ bind more tightly into the beer and drops sediment more compactly to the bottom of the bottle, for a cleaner pour.
How to tell it's actually ready
You don't need to crack open the whole batch to check. Open one "test" bottle about a week after bottling. A firm pop on opening and a solid head when poured means carbonation is on track — leave the rest of the batch alone to keep conditioning on schedule. If it pours flat, give it a few more days and test again.
Need the sugar amount first?
This guide covers the bottling and conditioning process. For exactly how many grams of priming sugar your batch needs, use the calculator — it accounts for your bottling temperature and target style.
For the full bottling chapter — including bottle prep, sanitizing, and troubleshooting under- or over-carbonated batches — see Home Brewing Guide.
Always weigh priming sugar rather than measuring by volume, and never exceed style-appropriate carbonation targets — over-priming a batch can cause bottles to over-pressurize. Inspect all bottles for chips or cracks before filling.